 Choose a surface
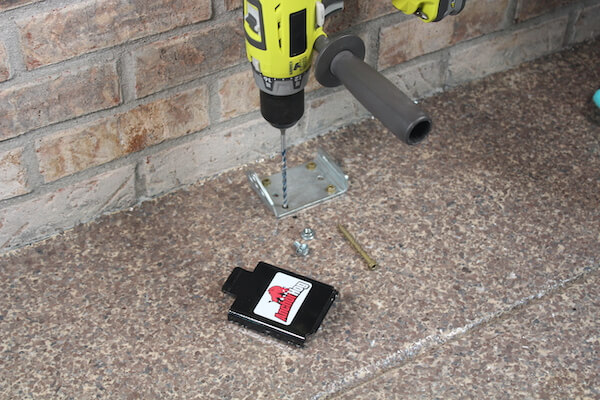 Drill to mount
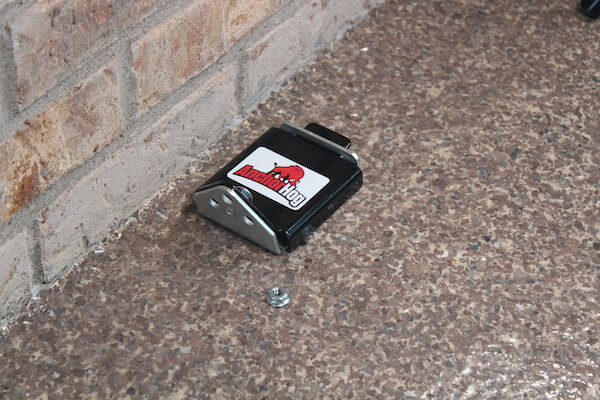 Tighten the plates
 Secure your stuff!
 Enjoy peace of mind
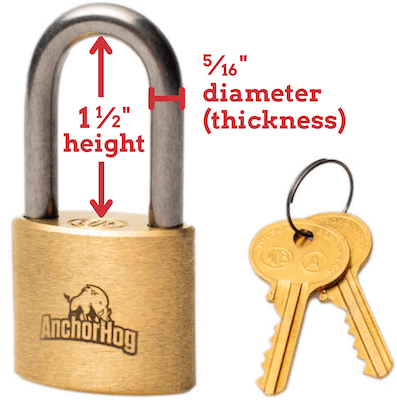
The tabs below show instructions for installing AnchorHog into concrete or brick, or wood surfaces. Note that the AnchorHog security anchor is designed to accommodate padlocks, as shown in the fourth and fifth images above.
- Concrete or Brick
- Wood Structure
Installing AnchorHog in Concrete or Brick
NECESSARY TOOLS
 Safety Glasses
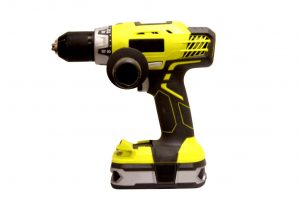 Cordless or Electric Hammer Drill
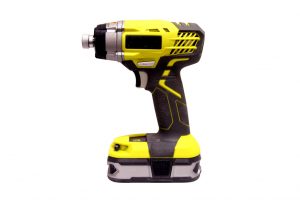 Cordless or Impact Drill
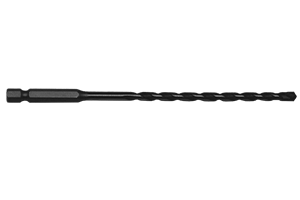 3/16” Masonry Drill Bit
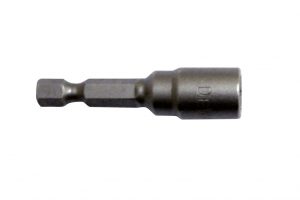 5/16” Socket
WHAT’S INCLUDED?
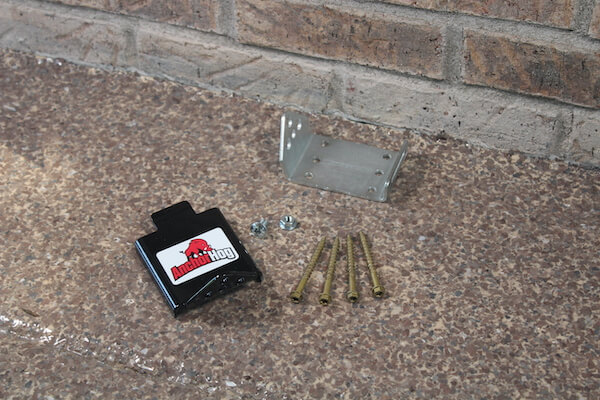
1 – Top Plate
1 – Base Plate
1 – Carriage Bolt with Nut
4 – Anchor Bolts
PADLOCK NOTE:
The AnchorHog security anchor is designed to accommodate padlocks with the specifications as shown.
INSTRUCTIONS:
- Find a location for the AnchorHog that will minimize the distance to the equipment (valuables) you want to secure. If you aren’t sure of all the possibilities for securing you equipment (valuables), you may want to consider mounting multiple AnchorHogs every 5-10 feet apart in the area where you plan to store your equipment (valuables).
- Remove the carriage bolt/nut and set aside the top plate.
- Position the base plate in the desired location and mark one (1) of the four (4) outer holes on the concrete surface.
- Remove the base plate and use the hammer drill with a 3/16” masonry drill bit to drill the first hole a minimum of 3” deep.
- After the first hole is drilled to the proper depth, remove the concrete dust and reposition the base plate so it aligns with the first hole.
- Insert the first anchor bolt in the hole and tighten to a snug fit. Caution: When using the impact drill, DO NOT over torque the anchor bolt.
- With the base plate squared and firmly in place, drill the other three (3) outer holes with the base plate in place.
- After the three (3) holes are drilled to the proper depth, remove the concrete dust, insert the remaining three (3) anchor bolts and tighten all anchor bolts firmly. Caution: When using the impact drill, DO NOT over torque the anchor bolts.
- Reattach the top plate and carriage bolt. The carriage bolt is only used to keep the base plate and top plate together. The padlock securing the cable to the security anchor will prevent thieves from getting to the base plate and anchor bolts.
- You are now ready to Protect Your Stuff by securing it to the AnchorHog with a cable and padlock.
Optional Tools
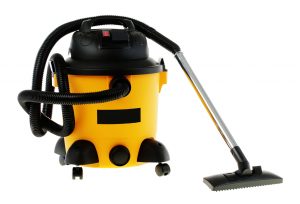
ShopVac
Installing AnchorHog in Wood Structure
NECESSARY TOOLS
Safety Glasses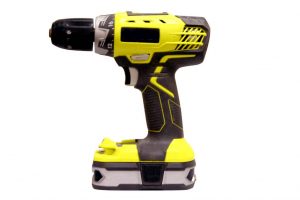 Cordless or Electric DrillCordless or Impact Drill
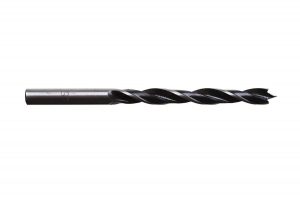 3/16” Wood/Metal Drill Bit5/16” Socket
WHAT’S INCLUDED?
1 – Top Plate
1 – Base Plate
1 – Carriage Bolt with Nut
4 – Anchor Bolts
PADLOCK NOTE:
The AnchorHog security anchor is designed to accommodate padlocks with the specifications as shown.
INSTRUCTIONS:
- Find a location for the AnchorHog that will minimize the distance to the equipment (valuables) you want to secure. If you aren’t sure of all the possibilities for securing you equipment (valuables), you may want to consider mounting multiple AnchorHogs every 5-10 feet apart in the area where you plan to store your equipment (valuables).
- Remove the carriage bolt/nut and set aside the top plate.
- If the mounting surface is drywall over wood studs, locate the studs with a stud finder so the anchor bolts will penetrate deep into the wood. (Caution: DO NOT mount the security anchor on drywall over metal studs.)
- Position the base plate in the desired location and mark one (1) of the four (4) outer holes on the drywall surface. (Note: if your mounting surface is less than the width of a 2 x 4 (1’.5”) use the 2 center holes on the base plate.
- Remove the base plate and use the 3/16” wood/metal drill bit to drill the first hole a minimum of 2 1/2” deep.
- After the first hole is drilled to the proper depth, reposition the base plate so it aligns with the first hole.
- Insert the first anchor bolt in the hole and tighten to a snug fit. Caution: When using the impact drill, DO NOT over torque the anchor bolt.
- With the base plate squared and firmly in place, drill the other three (3) outer holes with the base plate in place.
- After the three (3) holes are drilled to the proper depth, insert the remaining three (3) anchor bolts and tighten all anchor bolts firmly. Caution: When using the impact drill, DO NOT over torque the anchor bolts.
- Reattach the top plate and carriage bolt. The carriage bolt is only used to keep the base plate and top plate together. The padlock securing the cable to the security anchor will prevent thieves from getting to the base plate and anchor bolts.
- You are now ready to Protect Your Stuff by securing it to the AnchorHog with a cable and padlock.
Optional Tools
ShopVac
Stud Finder